Birthday Shannagins

I just finished a book called Fan Girl by Rainbow Rowell. It is about this girl named Cath, who coincidentally is a lot like me. She is entering her first year in college, along with her twin sister, Wren. Both girls are completely obsessed with a series of books that revolve around this fictional character, Simon Snow. {ie. Harry Potter in my case.}  She is so enthralled with the books, that she writes fan-fiction to keep the characters alive in their magical world of Mage and has thousands of followers waiting with baited breath for the next chapter to be released . She is otherwise known as, a complete genius and obvious introvert. {See? Just like me.} She stays up all night reading and writing in her baggy sweatpants and hair in a bun, while her twin, the more confident one, goes out to frat parties and lives the typical college life.

After I finished the book, it got me thinking. Could I write Harry Potter fan-fiction? I know it exists. I know of several forums that authors use just for the sake of Potter fan-fiction. And I have read the books so many times, that I feel like I was a part of their life, just as much as they were a part of mine. And for that matter, could I create a world like J.K. Rowling did? On paper napkins? Or even Post-its? My mom definitely thinks I can.

Maybe.

For now, I am satisfied with writing about my Potter themed birthday.

Potter birthday

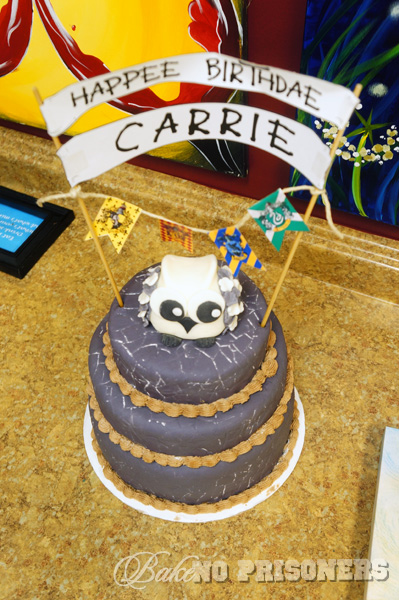
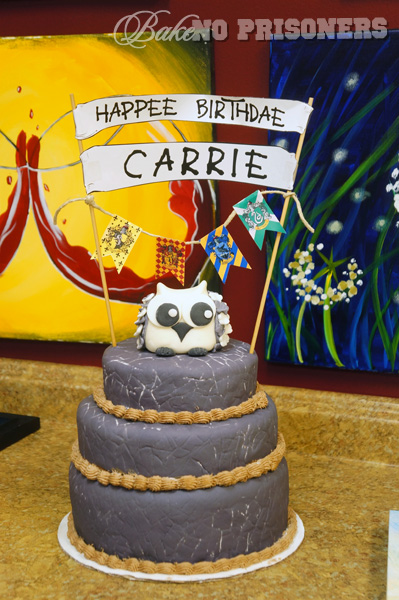
I just so happened to design and construct my own cake this year. My usual request is a double stuff, extra-large cookie cake from the American Cookie Co. I know. I get it. I’ve heard it a million times. There are a ton of bakeries and patisseries around my area and I choose a lame, commercially manufactured cookie cake. But moooooomm, it tastes like my childhood. Anyway, with the Potterhead theme underway, I thought it only fitting that I make my own cake.
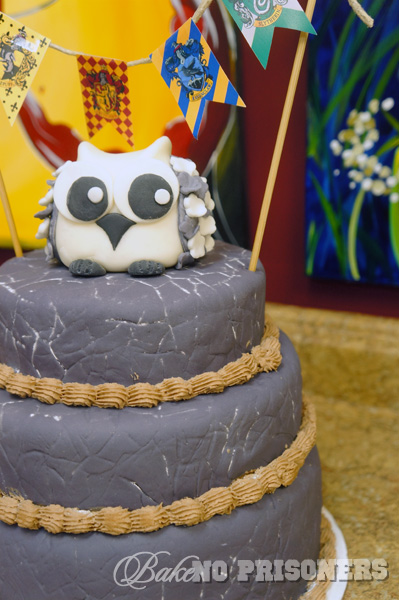
Potter birthdayI’ll admit, I got a little carried away. The more I thought about it, the more extravagant things got. I wanted to do my first ever 3-layer cake. Then I wanted to construct my first ever fondant owl. Then the fondant had to have a cobblestone affect. Finally, I had to have a banner. Because duh. Who doesn’t love a banner on their cake? So I made my favorite vanilla spice cake with whipped Nutella frosting and then wrapped my layers in homemade marshmallow fondant. I dyed it grey and made a cobblestone imprint with a fondant stamp I had. Then I brushed the cobblestone with confectioner sugar so that they would stand out a bit. {However, I soon discovered that the sugar melts into the fondant a whole lot faster than I expected.} Finally, I piped the extra Nutella frosting I had around my layers. I constructed my fondant owl using a bunch of videos I found on YouTube, along with my collection of fondant tools and cut outs. :)

Potter birthday

Each layer was a different house color for Gryffindor. The bottom layer was yellow and the top layers were red. Unfortunately, these were the only photos I had of the cake because we devoured it not long after they were taken.

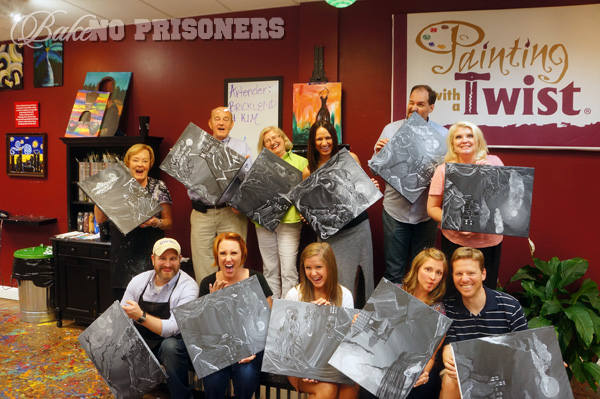
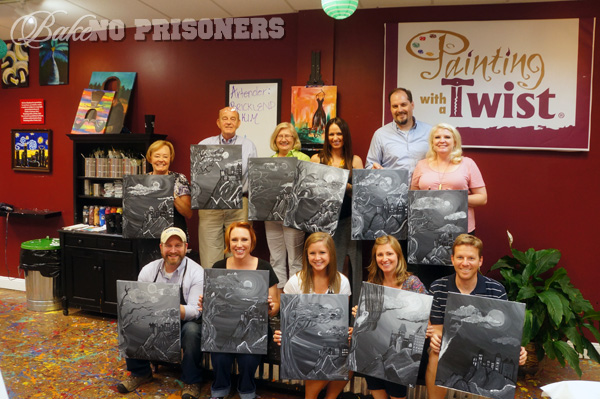
In addition to the cake, all of us went out to do a little Potter painting.

Potter birthday

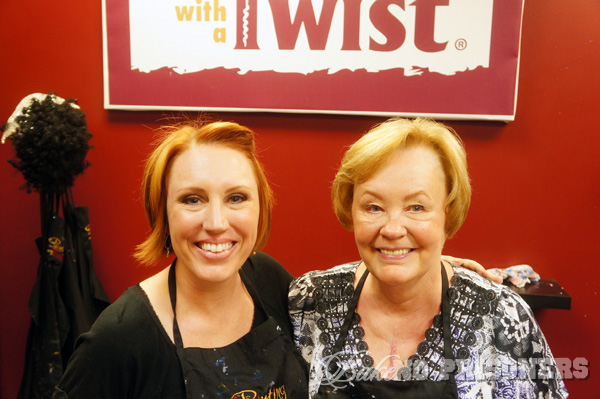
The amazing staff at Painting With a Twist happily created this one-of-a-king, never before introduced, Harry Potter inspired painting just for me. If you look carefully, you will notice Hogwarts at the top of the mountain, the Whomping Willow to the left, and a few of us even put in a Hedwig. Because Hedwig never really goes away, does he?

I call it…99 Problems but a Snitch Ain’t One.
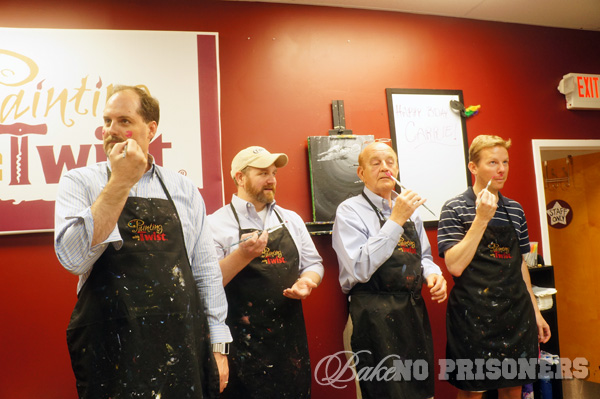
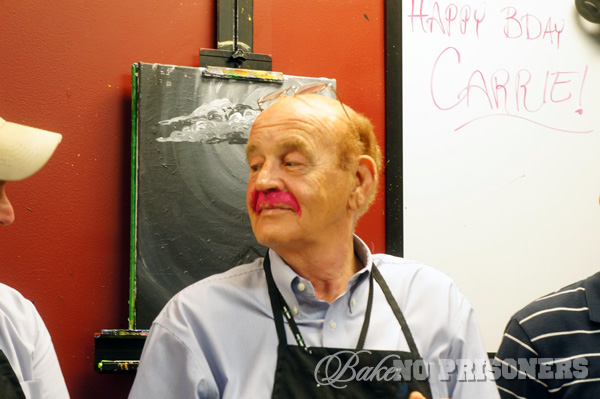
Potter birthdayThe boys got a little carried away with the paint…

No one told them it had to stay on the canvas.
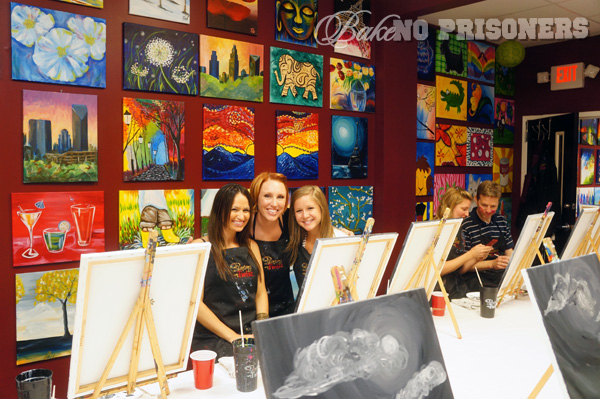
Potter birthdayI think pink works for him…

Potter birthdayI adore my friends and family. They made my birthday oh, so, special…here are just a few.
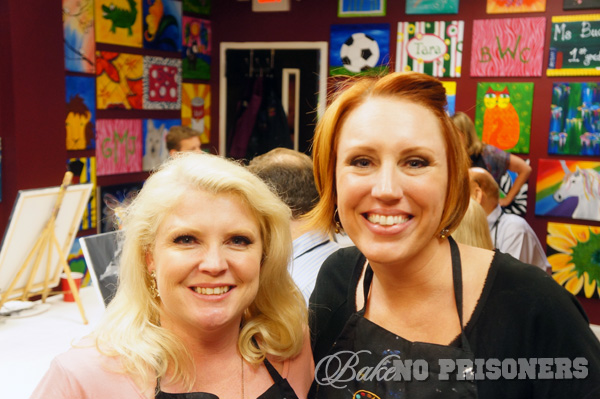
Potter birthdayFellow girly geek and con participant.

Potter birthdayMy pretty Momma…

Potter birthdayA big thank you to everyone who made it out. It was one of my best 29th birthdays so far!
Happy 3rd Bloggy Birthday, Bake No Prisoners!

Cherry Almond Cake

I am so excited for today! I can’t even…

Wanna know why?

This week marks Bake No Prisoners’ third blogiversary!

I can hardly believe it has been three years since I began Bake No Prisoners.  What started out as a little conversation of what-ifs with the Hubs has completely transformed into a journey of fun, learning, making new friends, and endless baking opportunities. I never dreamed in a million years that my little hobby would turn into something so important in my life.

To celebrate the occasion, I have compiled a little list of a few things I have learned over the past three years from baking, blogging, and you!

1. Originality – It is not as easy as it seems and you have to applaud those who have it and strive yourself, to own it.

2. Mistakes – You will make mistakes both in the kitchen and in life. I embrace those mistakes because it has made me a better baker, blogger, and friend.

3. Photography – I now know the ins-and-outs of what a good photo should look like. When I forget, please refer to #2.

4. Friends – Your friends aren’t just the ones you see face to face each day, they are also the ones on your computer screen.

5. Learn – The learning opportunities are endless. From the recipe creation stage to the writing itself,  I am continuously learning new things and because of that, I feel I will always be in love with BNP.

I cannot begin to thank all of you who continue to read, support, and encourage each week…

Cherry Almond Cake

Have a slice of birthday cake, would ya?

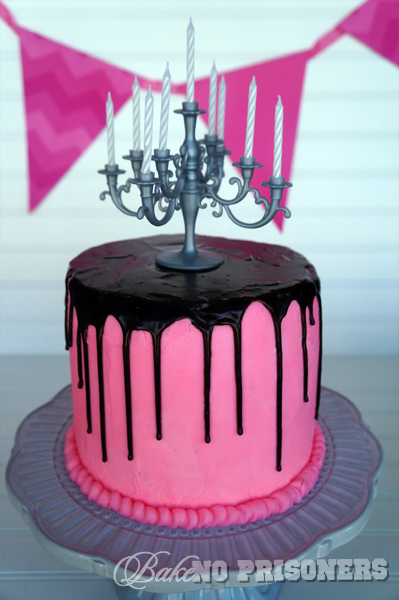
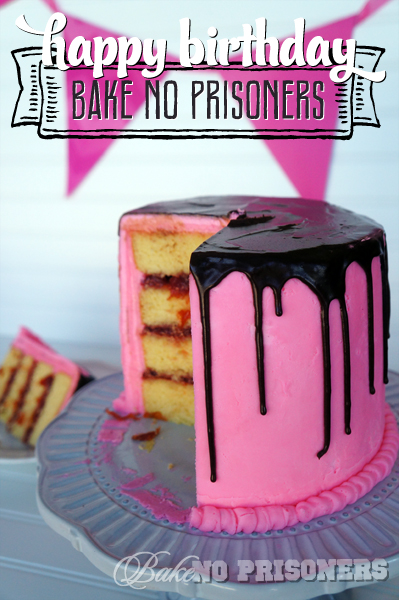
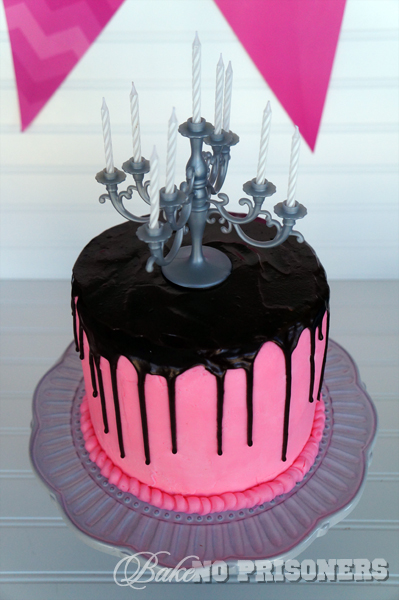
Cherry Almond CakeI wanted this year’s bloggy birthday cake to be somewhat rich and extravagant. I mean, how many times does a blog turn three, amiright? So I decided to make this 4-layer almond cake with tart cherry preserves. Then to make it even more amazing, I smothered it with rich buttercream and drizzled decadent chocolate ganache on top. Perfect birthday treat, I’d say…
Cherry Almond Cake

4-Layer Almond Cake with Tart Cherry Preserves

Yield: Two 8-inch rounds

Recipe by Carrie

Ingredients

    Cherry Almond Cake:
  • 1/12 cups all-purpose flour
  • 1 cup granulated sugar
  • 1 teaspoon baking powder
  • 1/2 teaspoon salt
  • 4 ounces {1 stick} unsalted butter, softened
  • 2 eggs, plus 2 egg yolks, room temperature
  • 1/2 cup {4 ounces} milk, room temperature
  • 1 1/2 teaspoons almond extract
  • 1 teaspoon vanilla extract
  • Tart Cherry Preserves {I found mine at Target}
  • Buttercream frosting:
  • 1 cup {2 sticks} unsalted butter, room temperature
  • 1 lb. confectioner sugar
  • 1 tablespoon meringue powder
  • 1 1/2 teaspoons almond extract
  • splash of heavy cream
  • Chocolate ganache:
  • 8 ounces semisweet chocolate
  • 3/4 cup heavy cream

Instructions

    4-Layer Almond Cake:
  1. Preheat oven to 350° and place your oven rack to the middle position.
  2. Spray two 8-inch round cake pans with flour spray and line bottom with parchment paper.
  3. In a medium bowl, combine flour, baking powder, and salt; set aside.
  4. In your stand mixer bowl, cream butter for 2-3 minutes.
  5. Slowly add sugar to your butter and mix until light and fluffy.
  6. Add your eggs and yolks, one at a time, until combined.
  7. Add your vanilla and almond extracts.
  8. Starting with your flour mixture, slowly add half to your butter blend, until combined.
  9. Carefully add your milk and then end with your other half of the flour mixture.
  10. Scrape the sides of the bowl and mix for another minute.
  11. Add a little more than a cup to each 8-in round pan.
  12. Bake for 25-30 minutes or until an inserted toothpick comes out clean; making sure the pans are at least 3 inches from each other and the sides of the oven.
  13. After 5-10 minutes, slide a knife around the sides of the pan. Remove the cakes from pan and transfer to wire rack.
  14. Allow cakes to come to room temperature before frosting.
  15. Buttercream frosting:
  16. In your stand mixer bowl, cream the butter on medium-high speed for 2-3 minutes making sure to stop to scrape the bowl once or twice.
  17. Reduce the speed to low and gradually add the confectioner sugar and meringue powder.
  18. Once all of the powdered sugar is incorporated, increase the speed to medium-high and add the vanilla.
  19. Add a splash or two of heavy cream until you achieve the desired consistency.
  20. Whip at medium-high speed until light and fluffy, 2-3 minutes, scraping the bowl as needed.
  21. Any unused frosting can be stored in an airtight container and placed in the refrigerator until future use; let frosting come to room temperature before using.
  22. Chocolate ganache:
  23. Pour your heavy cream in a medium saucepan and place on low heat.
  24. Chop your semisweet chocolate and place in a oven safe bowl.
  25. Once your cream begins to simmer, slowly pour over your chocolate.
  26. Let it sit for 2-3 minutes.
  27. Using a rubber spatula, slowly incorporate your chocolate into your cream.
  28. If it is too thin, let it sit for a few minutes to thicken up.
  29. Assembly:
  30. Use a serrated knife to level the top of your cakes {I normally wrap my cakes and put them in the refrigerator for about 30 minutes before I do this}
  31. Place the bottom cake layer on a cake plate or 8-inch round cake board.
  32. Place about 1/4 to 1/2 cup of tart cherry preserves on the top of the cake layer, and spread evenly with a small offset palette knife.
  33. Gently place the second cake layer face down on top; spread the cherry reserves on top and repeat with the following layers.
  34. Place a generous scoop of frosting on top, spreading evenly with a small offset palette knife and working your way down the sides until you have a thin layer of frosting over the entire cake.
  35. Chill until set, about 30 minutes.
  36. Remove from refrigerator and cover cake with a final layer of frosting.
  37. Drizzle sides with ganache first, using a pastry bag snipped at the end.
  38. Then carefully spread a thin layer on top.

Notes

To make four layers, you will need to double the recipe.

Schema/Recipe SEO Data Markup by ZipList Recipe Plugin
http://www.bakenoprisoners.com/wordpress/index.php/happy-3rd-bloggy-birthday-bake-no-prisoners/


Doctor Who Party {Part I}

  Doctor Who Party

It is no secret that I am obsessed with Doctor Who. In fact, I have been waiting for the TARDIS (Time And Relative Dimension In Space) to show up in my backyard for some time now. The way I see it, the Hubster and I could just pull a “Rory and Amy” and fly off into space and time with the Doctor any day now…

Annnnny day now…

Mr. BNP and I are fairly new to the Who scene, considering it is celebrating its 50th anniversary this year. We jumped on the Whovian train a few years back and I have since caught up by watching the reruns on Netflix. By far, my favorite Doctor is David Tennant. He was the Tenth Doctor and coincidentally, played Barty Crouch Jr. in Harry Potter and the Goblet of Fire (my favorite HP movie.)

There are currently Eleven Doctors total, with the marvelous Matt Smith playing the current Doctor. Why so many Doctors? Well…it’s a bit of a long story, but  to avoid  any confusion to all my non-Whovian readers, I will try and make it short. There really is only one Doctor. He is the last time lord from the planet Gallifrey.  The Doctor is around 900 years old and every time he “dies”, he actually regenerates into someone “new”. New face. New look. New likes. New dislikes. New tastes, even. But inside it is the same old wonderful Doctor. Get it?

The Doctor travels in a big, blue police box called the TARDIS. It is bigger on the inside and is able to travel through space and time.  He typically has a companion or two with him. That’s what I am not-so-patiently waiting for…

Once they step out of the TARDIS, the Doctor and his companions are always faced with a new dilemma that could change the course of history as we know it. He is often seen battling Daleks, Cybermen, Weeping Angels, or any other alien life force with his sonic screwdriver in order to save the world. In short…BEST. SHOW. EVER.

March 30th marks the mid-season premiere of Doctor Who 7.5!!!

There are not many Whovians in my little town (I know a total of 5), so I thought, why not have a virtual party to celebrate? There has got to be a TON of you out there in cyber world!

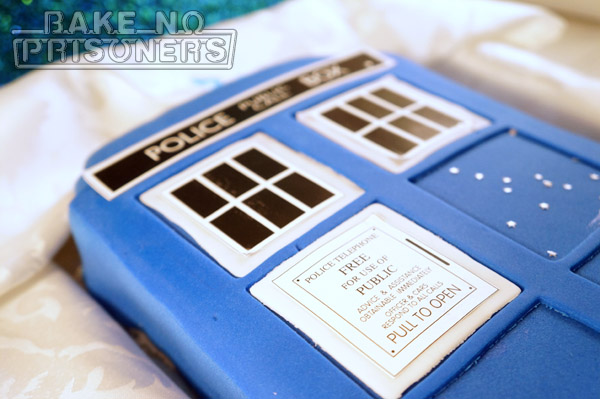
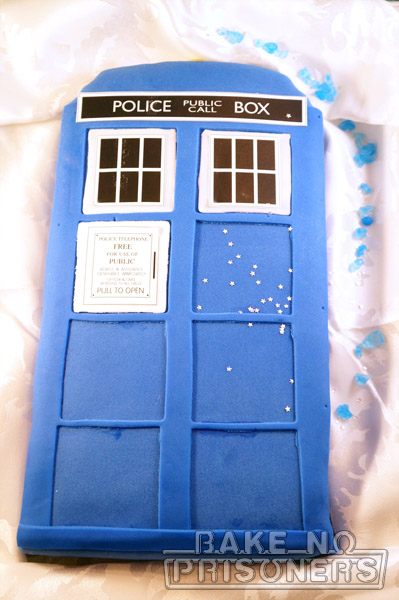
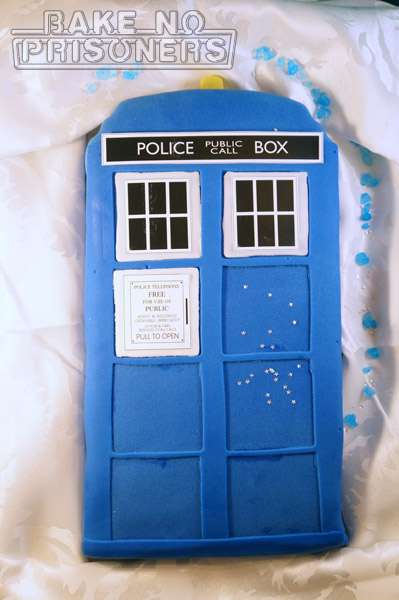
 So to kick off our Who party, I made you guys a TARDIS cake!

Doctor Who Party

 I wonder if its bigger in the inside…

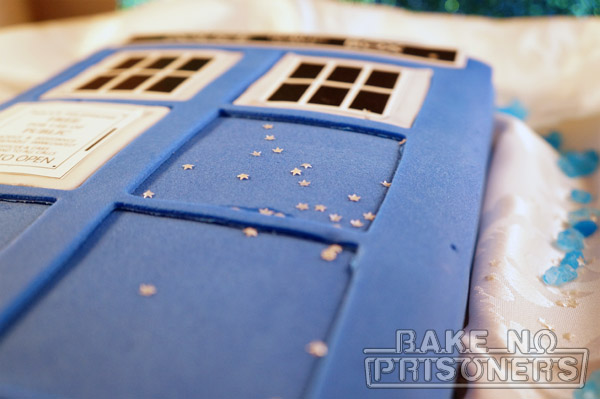
This cake started out as a 9 x13 vanilla cake. I used a cardboard TARDIS pattern to cut out the shape, crumb coated it, and then covered the cake with the first layer of blue fondant. For the second layer, I cut out the squares using a square fondant cutter and carefully laid it on top. Finally, I cut out the white squares, added the yellow light on top, and glued it all together.

I dyed the fondant myself and had blue hands for a week!

Doctor Who Party

I found edible stars to make it feel more spacey wacey!

Doctor Who Party

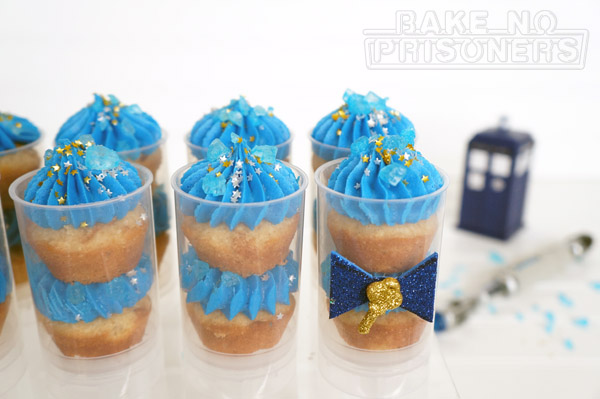
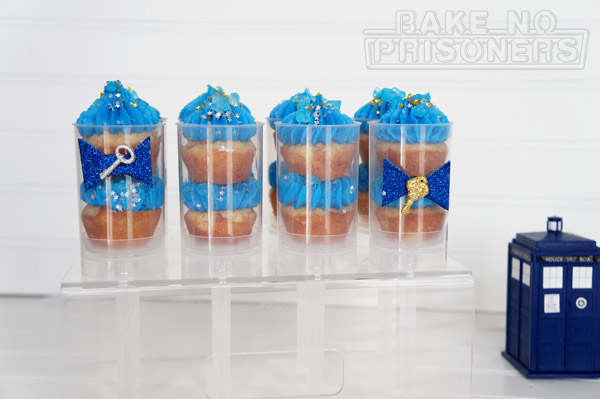
How about some Wibbly Wobbly Timey Wimey Push Pops?

Doctor Who Party

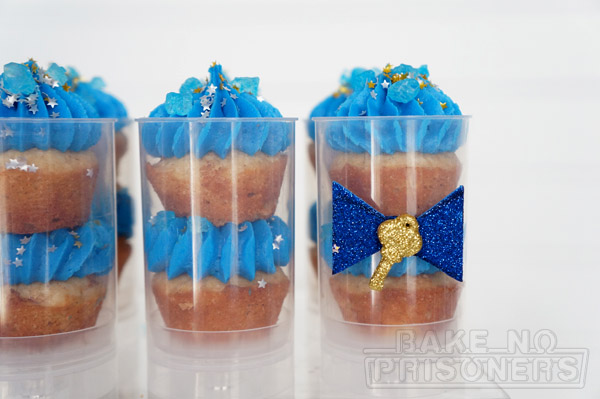
I used my mini muffin pan to make these cute little cakes and then squished them together with yummy blue buttercream!

Doctor Who Party

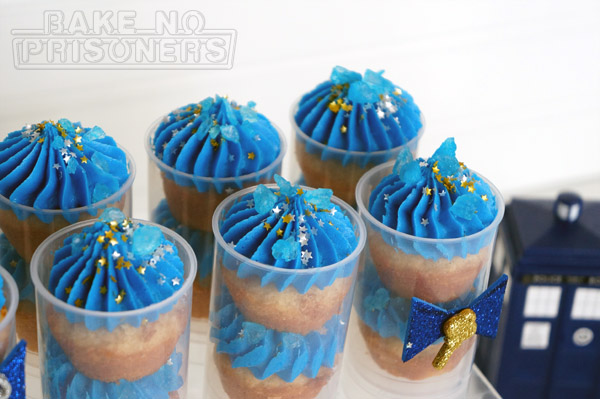
Bow ties are cool! Especially when they hold the key to the TARDIS! I am so in love with them! I found the keys at my local craft store and I cut mini bow ties out of blue sparkly foam paper.

DSC02416_600x400

Did you notice the gold and silver stars? And the blue asteroids? Ahhh. I die. I mean…I regenerate.

Doctor Who Party

I used my basic vanilla cake recipe and added a bit of cinnamon spice, but you could choose whatever flavor you want.

Doctor Who Party

Like my Bake No Prisoners font on today’s photos? It just so happens to be a special Doctor Who Edition! Want your own Doctor Who font? Stay tuned for Part II next week to find out how to get your FREE Doctor Who font download!! You know you have to have it!! Allons-y!

One Blogger’s Reflection

DSC01986_600x400

Over the past few weeks I have been revisiting a few of my older posts on BNP and it has got me thinking…

What have I learned since I started BNP 2 years ago?

This post has me evaluating my blogging adventures…

I laugh when I think back about how I thought it was just was easy as bake, blog, and repeat. While yes, that is the very basic outline to a blog, there is so much more to take into consideration:

1. Photography

2. Photoshop

3. Creative writing

4. Social media outlets

5. Getting your voice heard

6. Recipe pride

7. Consideration of others

8. Baking ability

9. Decoration

10. Background

None of which are in any order of importance. In fact, they must all work cohesively in order to be successful.

I may be strong in a few, but I am definitely still learning and publicly stumbling in many others. So that is essentially what the last two years have been:

A learning experience.

Things I have learned:

1. First and probably the most important lesson I have learned thus far is to be considerate of other bloggers.

When I first started, I faced blogging like I might teaching. In the teaching world, all ideas are up for grabs.  Whatever activity, lesson, or center reaches the most student success, you go for it. You copy them because you like them. You see their potential. You are not claiming them as your own, but you are not always putting your own stamp on it so to speak. I used to just copy the entire recipe from a blog I admired, tag them, and recreate the recipe. I might have changed one or two things to give it a slightly different spin, but it was, for all intents and purposes, someone else’s recipe. Someone else’s hard work and dedication. As I now create my own recipes and write down my own experiences, I realize just how much pride I have in each post and how demoralizing it would be if someone claimed it as their own. So now in the blogging world, if I love something enough to put it on my blog, I send my viewers straight to the source.

2. Photography (and Photoshop for that matter) are learned skills.

Practice makes perfect and I must have several hundred of horrid, fuzzy pictures to prove it. When Mr. BNP first got me my Sony NEX-5N, my initial thought was, Ooooh Kaaaay, I have a smart camera that will do everything I need it to with just a click of a button. I couldn’t have been more wrong. The most important rule I have learned about photography is to shoot EVERYTHING in manual mode. When you do that, then you can adjust the aperture and shutter speed. Do not, I repeat, do not think that choosing the Intelligent mode will get you what you want out of your photos. Study your manual. Watch how to videos. Talk with others who have been there. And invest in a good photography light box. This one is mine. Adorama Photo Studio In-A-Box. Photos are important. Add as many great photos as you can to your post. Most people enjoy photos more than the actual post.

3. Writing is the hardest part.

I am a complete introvert. I am shy to new people and new experiences and will most likely stutter or stumble upon my words when first meeting you. Corner me and I am like a turtle crawling back into her shell.  Now times that anxiety by ten when I have to write my personal experiences and share my own recipes to the world. Ok, so I know not the whole world. But it is out there for anyone to see. People who like me. People who don’t. People who have just found me. making their first impressions of me. It is intimidating and I am deathly afraid of failure. That being said, I am conquering my fear each week with a new post and that is saying something.

4. Social media outlets and getting your voice heard go hand in hand.

There are so many social media outlets to get your blog noticed that it is hard to choose which one. I am a huge fan of 3 and am constantly updating them; Facebook, Twitter, and Instagram. I do have a Google+ account, Pinterest, LinkedIn, and many more, but I just can’t keep up. Even my Pottermore account is being left in the dust these days. Point is, I have learned that you have to put yourself out there. Introduce yourself. Share. Share. Oh yeah, and share some more.

5. Baking ability, decoration, and background

I have grown so much as a baker since beginning Bake No Prisoners. I attribute my growth to fellow bloggers, decorating classes, and trial and error. There is nothing I hate more than spending time and money on a recipe that turns out to be a total disaster, but those failures aid in future successes. They are necessary. I promise. You will succeed as long as you keep trying.

The background to your photos is almost as important as the baked goods itself. Invest in a few adorable cake stands, bottles, and background paper. Michael’s is perfect for this. T.J. Maxx and Homegoods are great sources too. If you like to order online, check my links page, under supplies.

Now this post isn’t just a long and drawn out blogger’s reflection, I also have an adorable, Girl Scout themed cake for you!

DSC01972_600x400

Another perk of being a teacher is that you have an excuse to buy an exuberant amount of Girl Scout cookies. Whether your favorite be Thin Mints, Samoa, or Tagalongs, you have to admit, those Girls Scouts really know how to make a good cookie.

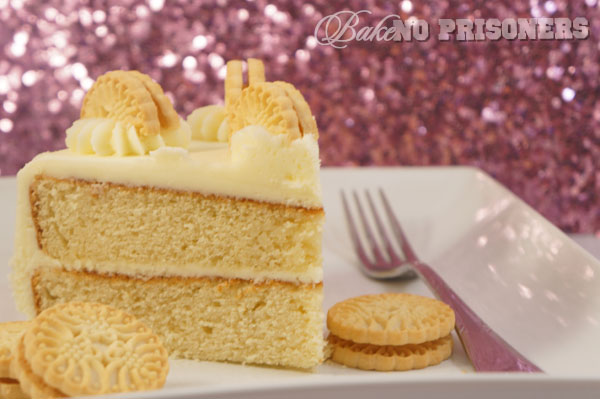
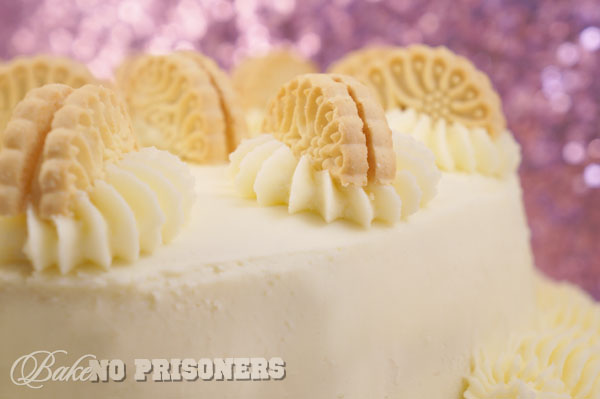
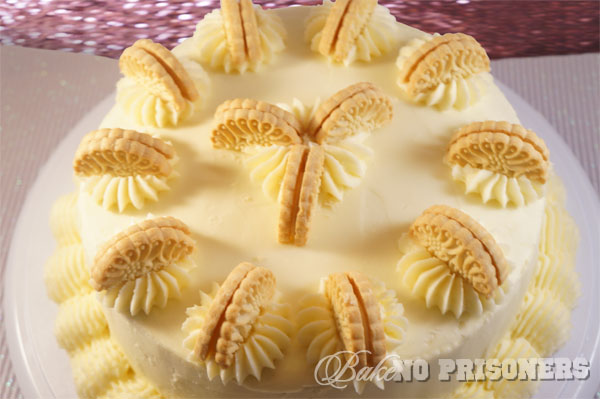
They have a new flavor this year called the Mango Cremes cookie. According to the box, these cookies are “Vanilla and coconut cookies filled with a tangy mango flavored creme.” This sounded like the perfect opportunity to turn this cookie into a cake!

Now the Hubster is allergic to coconut flakes, so I used flavoring in the cake recipe, along with vanilla, but you could totally find a way to add coconut flakes to your cake or frosting.

DSC01947_600x400

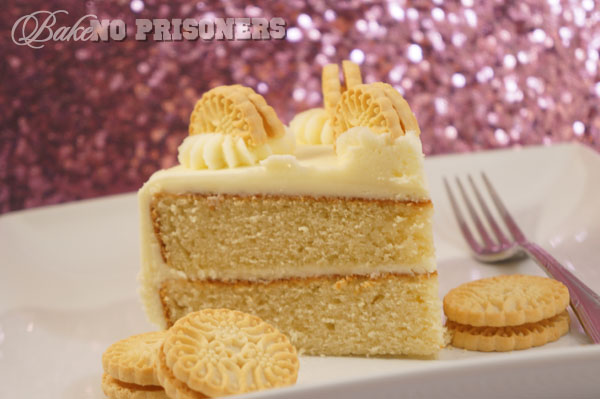
I used this basic vanilla cake recipe for the base, but cut the vanilla in half and used coconut flavoring in its place. I really like this vanilla cake recipe because it produces a firm cake that is perfect to frost.

This Mango Coconut Buttercream makes this cake! It is thick and creamy and oh so tropical! When I slice a piece of this cake, I pretend I am in the Caribbean somewhere and away from all this cold, dreary weather! Enjoy!

Mango Coconut Buttercream Frosting

Recipe by Carrie

Ingredients

  • 2 sticks softened butter
  • 1 lb. confectioners' sugar
  • 1 Tablespoon meringue powder
  • 1 teaspoon coconut flavoring
  • 4 teaspoons milk or heavy cream
  • 5 teaspoons mango juice

Instructions

  1. Cream butter, coconut flavoring, and milk. Add dry ingredients a little at a time. Mix on medium speed until creamy, about 5 minutes.
Schema/Recipe SEO Data Markup by ZipList Recipe Plugin
http://www.bakenoprisoners.com/wordpress/index.php/a-bloggers-confession/

DSC02002_600x400


Underwater Basket Weaving

It seems like it has been a lifetime since I have lived in Florida, but in reality, it has been a short 7 years. I don’t necessary miss living in Florida. I really only miss my family and Disney, but I am spending the weekend down here because my Mom had a procedure done and I wanted to be here for her during her recovery. It is an hour long drive from her home to the hospital, and as I drive each day, I get to pass by my entire childhood….

The Clearwater beaches where I spent many a day after school soaking up the Florida sun (it is also where Winter the dolphin is located and the famous Frenchy’s, with the best grouper sandwich…EVER. Period.)

My High School, one of the many places where I discovered my love for writing, as well as the realization at how geeky I really was….er…am.

My first home with the Hubster, a cozy little condo overlooking the water with all the comforts of civilization at our fingertips…not a cow in sight…

Posted signs for the Florida State Fair…oh, how I miss you fried everything…

And of course, Florida drivers….I can say that, because I am one of them. But when you gather them all in one place and then mandate the speed limit to 35mph, I go crazy…bat crap crazy….

I could go on….but I would rather show you what I have been working on this week…

   DSC01460_600x400

I have been taking a class to hone in on those decorating skills that I seem to be lacking in the cake department.

This is my final project.

DSC01455_600x400

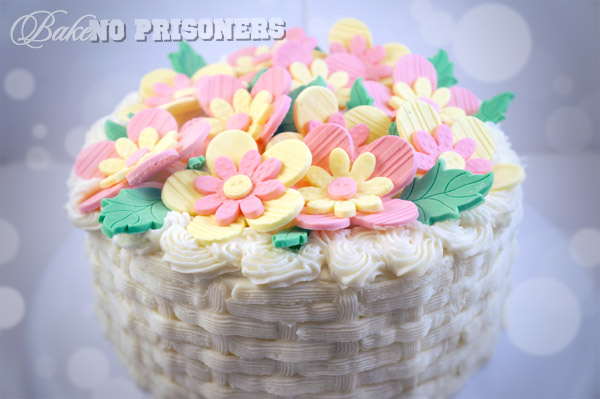
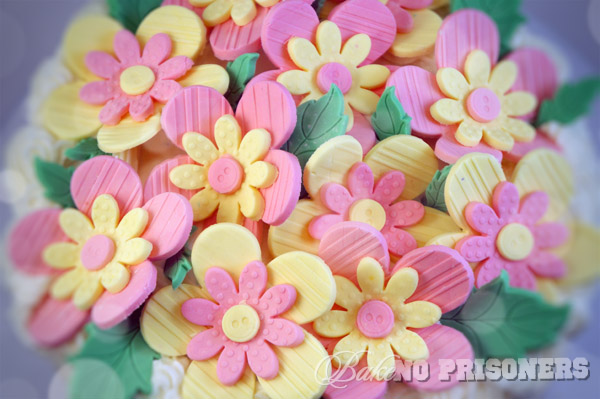
I made the button flowers out of neon fondant and gum paste.

All you do is combine a little larger than a golf ball size of gum paste with a quarter size ball of neon fondant until well blended. Dust your flower press with a combinations of cornstarch and confectioner’s sugar, roll out your fondant according to the directions, and press down. Hard. Really hard. You also have to use a little tool that sort of looks like a plastic pencil to slowly score the underside to get it out of the press, but it is fairly easy.

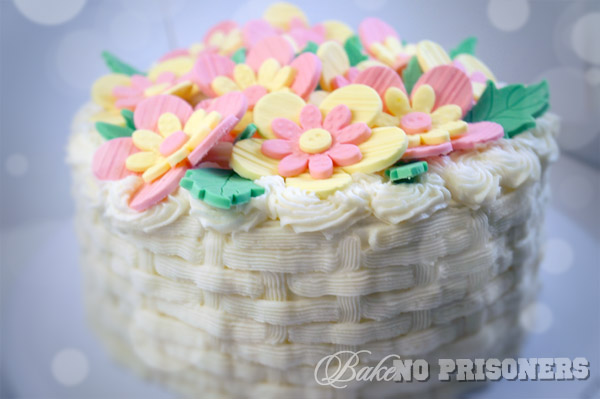
Frosting the basket weave took a little more time to master. Thus, the title of this post…Underwater Basket Weaving.

DSC01466_600x400

If you are part of my generation or earlier, you know what I am taking about. This idiom typically refers to a college elective one might take to improve their GPA. It is suppose to reference an easy course or one that would take little effort. That is not the case when it comes to basket weave frosting….although, once I got the hang of it, it went pretty quickly.

Pretty and tasty? Now that is a cake I can live with….

*Recipe Info: Easy Breezy Chocolate Cake

*Buttercream Icing


Happy 2nd Birthday, Bake No Prisoners!

DSC01387_600x400

This week marks the 2nd blogiversary of Bake No Prisoners!

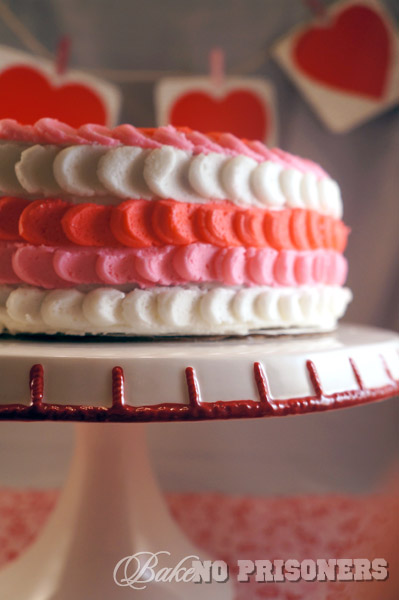
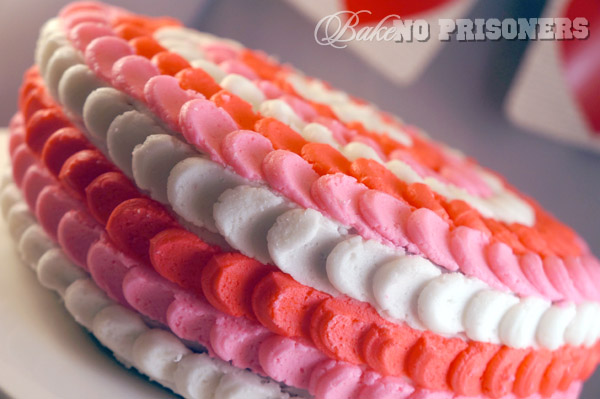
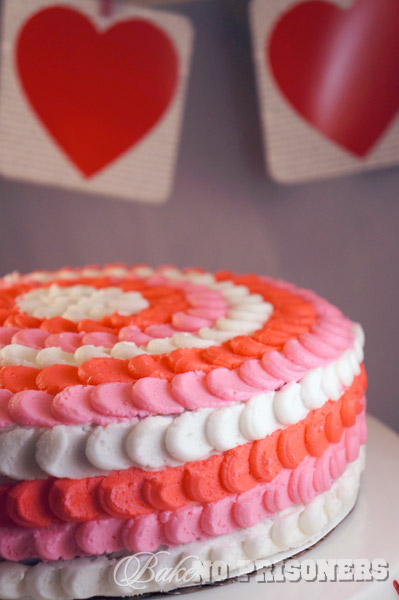
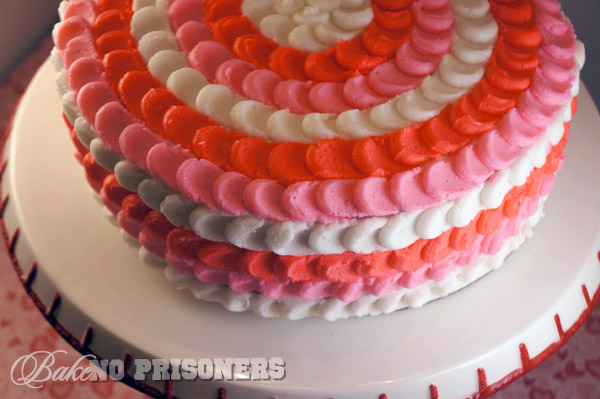
And what better way to celebrate than with this beautiful Valentine Petal Cake and our new look!

To be honest, when Bake No Prisoners started, I really didn’t know what I was in for. At the time, I enjoyed cooking and baking for family and I loved to spend hours surfing the net for inspiring blogs and recipes. I had no real photography skills, nor did I know the first thing when it came to blogging. I just knew that I loved to bake and write…and so once I hit publish on that first post, life as I knew it was over.

Ok…I am being a bit dramatic, but if you look at the big picture from my end, you can see how much I have grown as a baker, a blogger, a photographer, and foodie friend.

I never really started baking until I got married. I come from a long line of amazing women who are self taught bakers and chefs, but I never took the time to hone in on their skills until my early 20′s. My grandmother was known for her apple pies and perfect, flaky crust, for which my Mom says I have surpassed her skills. My Mom is required, not asked, to make several different types of Christmas cookies each year to satisfy the lot of us and it usually takes her weeks to complete this daunting task. And yes, Mom, we are all eternally grateful. And then there’s me. I had a lot of catching up to do and this blog helps me reach my never ending goals.

DSC01403_600x400

As a child, instead of baking, I loved to write. I wrote all the time. Short stories. Poems. Fictional alien narratives that won me awards. I envisioned myself as an author or a journalist of some kind. But as time went on, my passion to write succumbed to my passion for teaching. I have this keen ability to relate to children. Maybe it is because I am still a child at heart, but I like the shows they like (hence my current obsession with Dance Academy), I like the same music, and I am quite the fan of video games. I also have a deep love affair with learning. And I love to pass on that need to learn to my students. This blog allows me to do both….write and learn. I learn new things with every post about Word Press or blogging techniques. I have also learned that posts are not just about the recipes…You have to give a little of yourself to your posts, and readers alike.

DSC01394_600x400

Last year for my birthday, we all went out to the best restaurant in town. It was great. I ordered the duck. My husband brought the annual cookie cake…double stuffed. The whole family was there. My favorite part? My in-laws had purchased me a photo box for my food photography. This changed my photos indefinitely. This meant that they took my blog seriously. Even more…the following month, the hubster bought me my own Sony NEX-5N. Over the past year, I have grown as a photographer. I now know the lighting needed for a certain photo or what background would enhance the picture. I still have a lot to learn, but I am getting better each day. Now if I could only master Photoshop….UGH!

DSC01389_600x400

This last part of my post is most important.

Friends.

Throughout this process I have had so much support from my old friends, positive feedback from my new friends, and am encouraged and excited about the friends to come. I cannot tell you how happy it makes me when someone likes my Facebook page, or follows me on Twitter. And I get super duper pumped up when you leave a comment. It can be pretty scary when you put your ideas, thoughts, and feelings out there for everyone to see, but you make me feel inspired to do it. Thank you to all my friends, old and new, and friends yet to come.

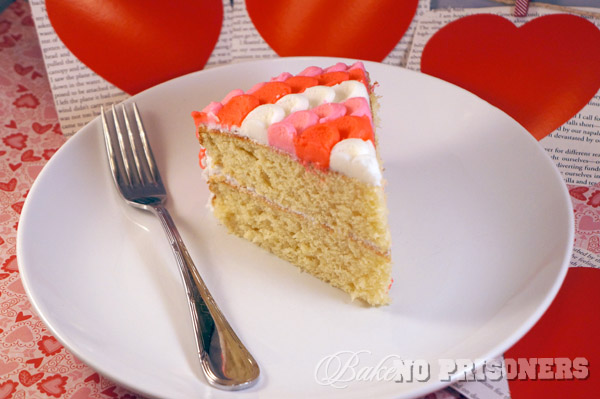
Happy 2nd Blogiversary, Bake No Prisoners! Now have a slice of the bloody cake!

DSC01419_600x400

Recipe info: Basic Vanilla Cake

*I substituted half the vanilla extract for almond extract

Amazing tutorial on the Petal cake decorating technique can be found here: The Hungry Housewife